The Rhinobond flat roofing system works by attaching the membrane to the same screw and plate that holds the roof insulation or cover board in place. Rhinobond does not use adhesives, which takes far fewer fasteners and is the fastest way to have a building dried-in and protected from the weather during a flat roof repairs / replace project. Here's what the process looks like:
Step 1: Lay out the roof insulation or cover board
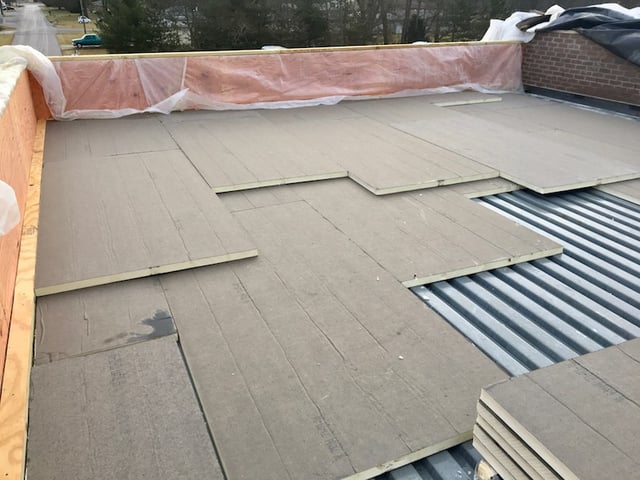
- This applies to whether you are recovering an existing flat roof, or doing a new construction roofing project. Remember to stagger the joints when using multiple layers of roof insulation and keep gaps 1/4" or less.
Step 2: Fasten down roof insulation with Rhinobond screws and plates
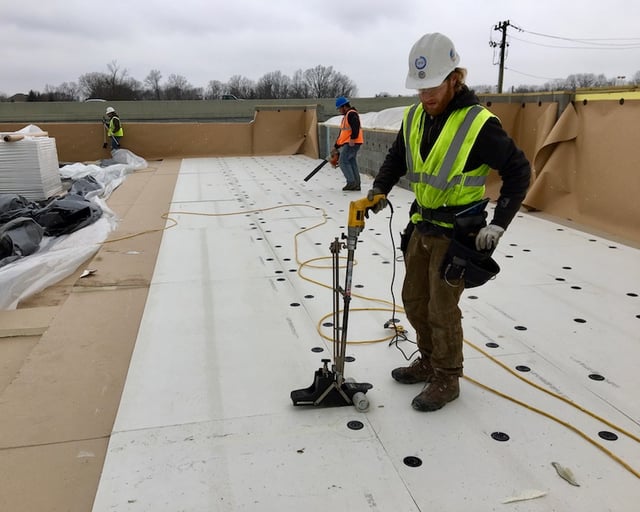
- Remember that the same screws and plates used to secure the roof insulation will also secure the roofing material to the building via induction. You will need to locate the plates once you have the membrane rolled out on top of them. This is much easier to do if you use consistent patterns and straight lines of fasteners. Consult the roofing membrane manufacturer for exact fastening patterns and perimeter re-enforcement fasting patterns.
Step 3: Roll out the membrane
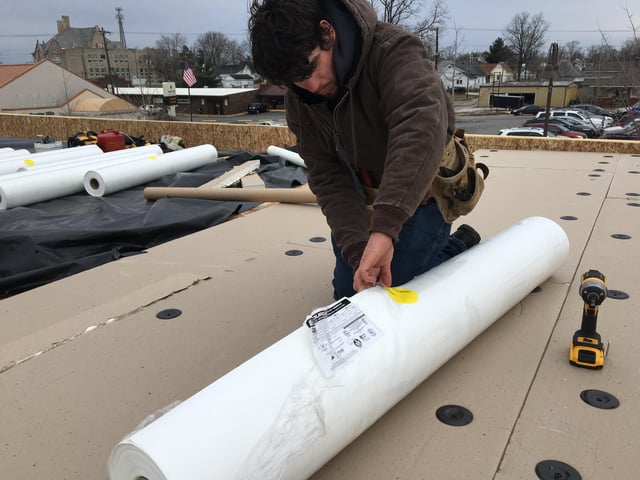
- Once the roof insulation is laid out and properly fastened to the building, you are ready to begin rolling out membrane. Whether you are using 5’, 6' or 10' sheets be sure to leave no less than 3" overlap on so you can weld sheets together. No additional fasters need to be installed in the rolls of membrane to meet warranty or specifications, but you may need to attach a screw and plate every so often in the seam edge of the roll; just to keep wind from lifting it and moving it around until it can be Rhinobonded.
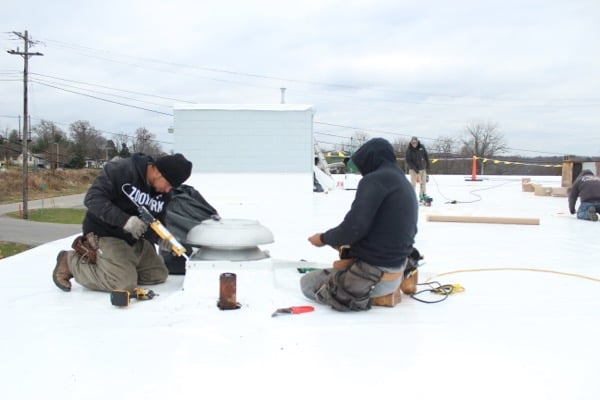
Step 4: Rhinobond the roof
.jpg?width=640&name=Rhinobond-Broadway%20(1).jpg)
- After calibrating the rhino bond tool begin to use it to attach the membrane to the screws and plates that you installed during step two.
Step 5: Weld up the seams
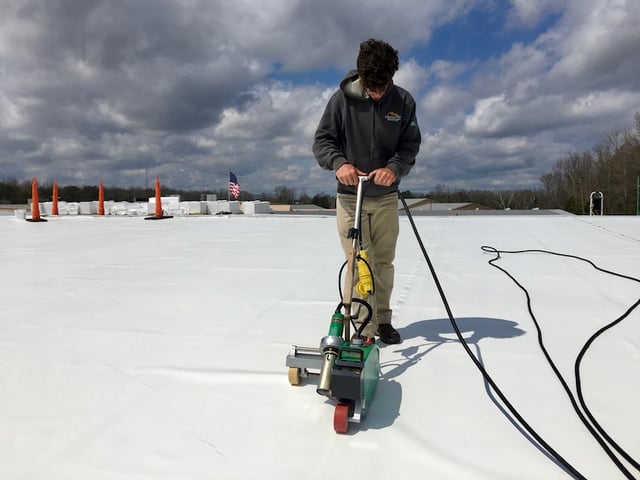
- Now that your deck sheets are in place and you have the Rhinobond process started, it's time to hot air weld the roofing material together. You can use either a walk behind welder or hand welder, but just a word of caution – even a very proficient hand welder won't be able to keep up with production running the Rhinobond process. It would be very easy to put out more roofing membrane in the day than could be welded up and dried in.
Step 6: Flashings and Trims
Finally install any curbs of stack flashing in the area that your crew roofed. Another great reason to use a walk behind welder is that if frees up your guys to do detail work instead of long rows of field seams.
This is the basic Rhinobond roofing process! Keep in mind one step does not necessarily have to end before the next begins. For example; our crew will have guys finishing up putting out sheets, while a guy is on the Rhinobond tool, another running walker welder, and yet another installing curbs and flashings.