It is believed that the original roof to the home, located in downtown Madison, Indiana, was a tile roof but once it could no longer protect the craftsman style structure it had to be replaced. Asphalt shingles were used to roof the home numerous times without success. The low pitch of the roof on the historic home was far below the required 3/12 needed for shingles to work. As a result, the leaking continued and so did the damage to the wood structure.
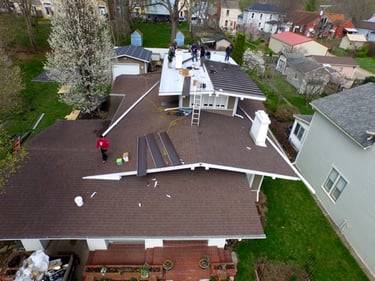
The homeowner, frustrated with the leaks, contacted Exterior Pro Roofing for advice and possible roofing solutions that could accommodate the homes lower slope.
Exterior Pro Roofing proposed two low slope roofing options that could stop leaks and protect the home for long term. The first being a new standing seam metal roof and the second being a membrane style roof commonly found on commercial buildings. Both options would work but the standing seam metal roof fit the home's style better and was consistent with historical guidelines in downtown Madison. The standing seam roofing project was even awarded funds through the Pace Grant Program which greatly helped the home owner offset the cost.
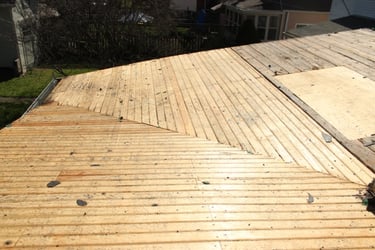
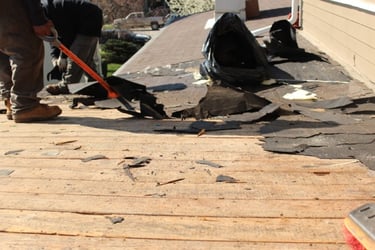
The first step in replacing the shingle roof with the new metal was to remove the existing shingles and make repairs to the wood that had been damaged as a result of the leaks. A combination of 3/4 plywood and bead board was used to make wood repairs that would closely resemble the existing wood ceilings especially on the covered breeze way and large overhangs.
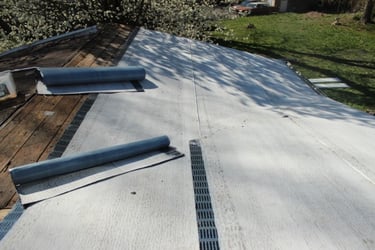
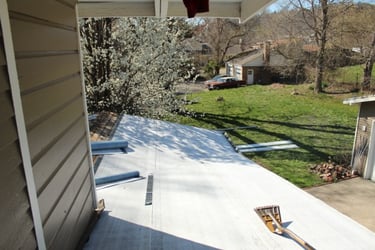
Next, a high temperature ice and water shield was used to waterproof the house until the new metal could be finished.Using high temperature ice and water not only keeps things dry during the install but also means that the crew doesn't have to rush the metal roofing installation just to dry in the home.
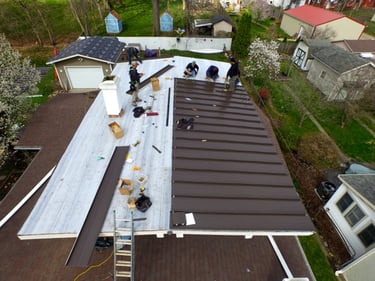
After the wood decking repairs were done and ice and water was installed the metal trims could be installed such as valley pans and offset cleats. With the roof properly prepped, the new metal roofing panels go down quick and easy. One after another, the metal roofing crew at Exterior Pro Roofing steadily filled in the roof with new metal. Each pannel was straightened, clamped, and secured with clips. Then, they used a hand seamer to first stage crimp the metal panels to the clip.
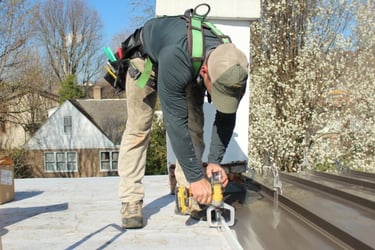
Once all the metal was installed, the ridge cap and box style rake trims could be installed. At the same time a two man team would hand seam the roof with both the first stage and second stage crimpers.
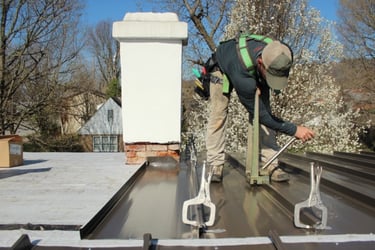
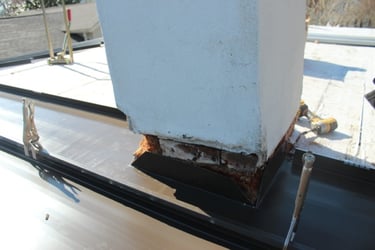
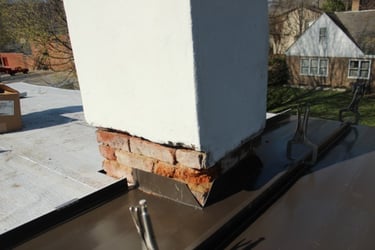
Finally, the two large chimneys had to be flashed in. Both, the flashings and counter flashings, were fabricated on site using a combination of hand rollers, hand crimpers, and a sheet of metal brake.
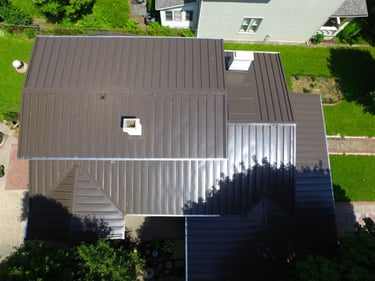
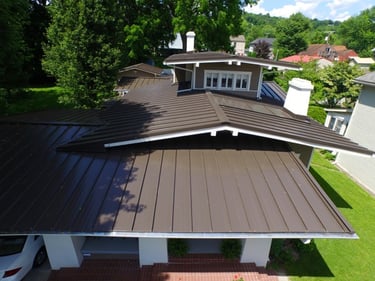
The crew made adjustments to the existing gutters and added two new downspouts. They also replaced the existing plastic gutter guard with a new more ridge aluminum gutter helmet. The job went well and the roof looks great.
Download this free guide for everything you need to know about metal roof coatings.